Roleplay Signs - How To Create RP Sign#
Tip
This section core parent is Roleplay Signs
The first step is place down any of sign and dont write anything there and leave it as a blank sign, since roleplay signs does fully require a blank sign!
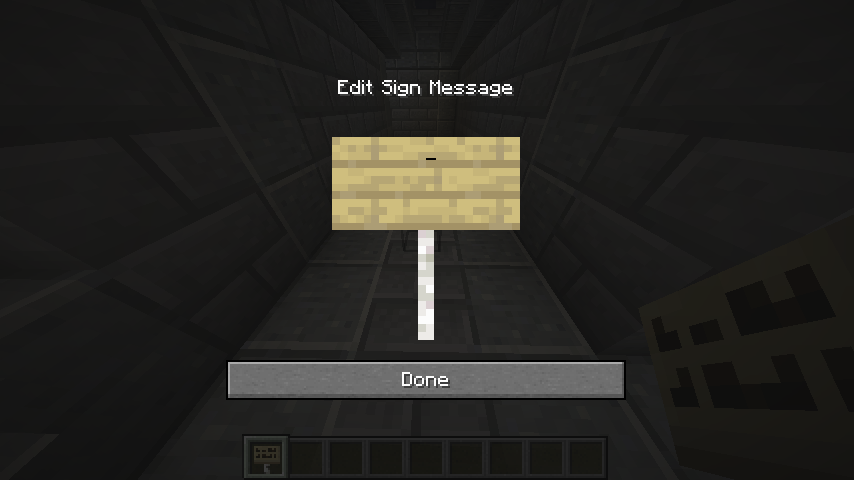
Once you have placed down the sign as you left it blank, you have to look at the newly placed down blank sign which can be Oak Sign, Spruce Sign, and so on.
In order to create a roleplay sign you will need to run /rpsign but however you will need to add a Kyori mini message formatting sample you can do this /rpsign <color:#aeeb34>As you look at the hallway you see just <color:#6b6b6b>stone themed hallway
Note
If you dont add any Kyori formating or any color the default color will be a plain white text
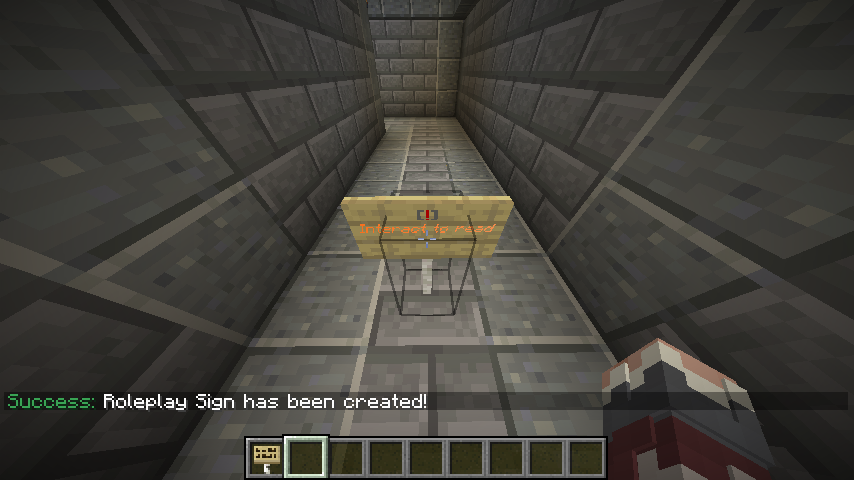
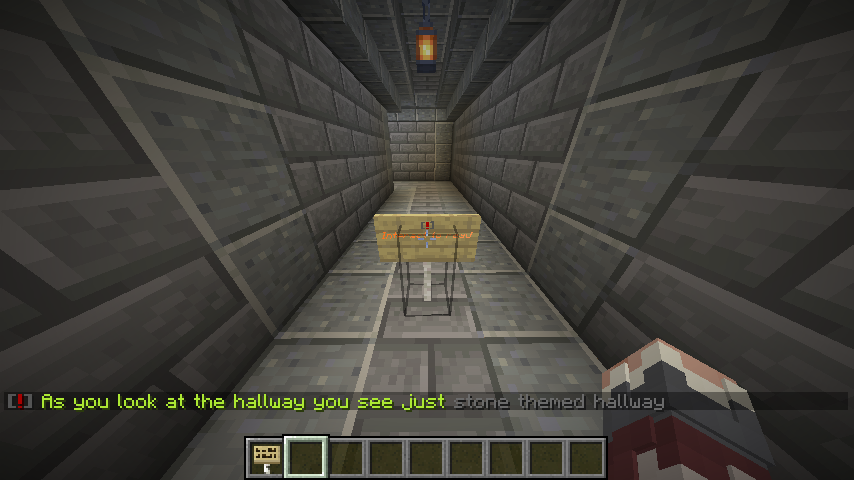
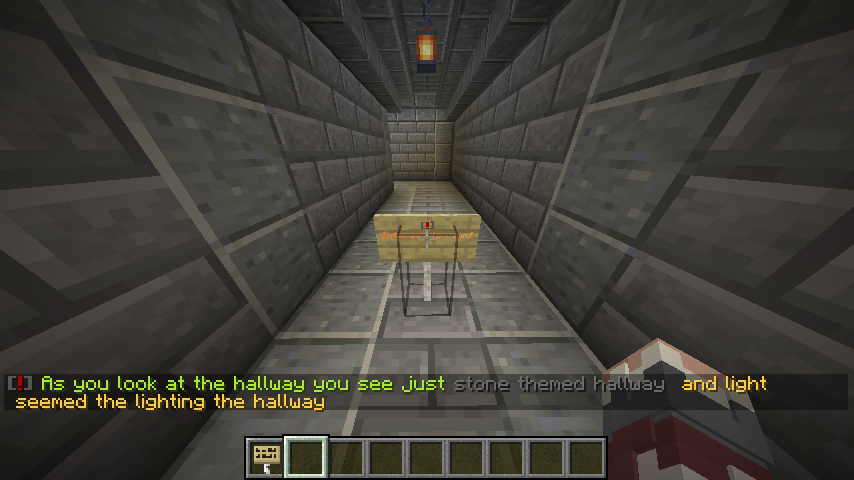
Once the roleplay sign was created you should be able to right click or interact with the sign you should be able to see the emote in the chat for sample in the screenshot below
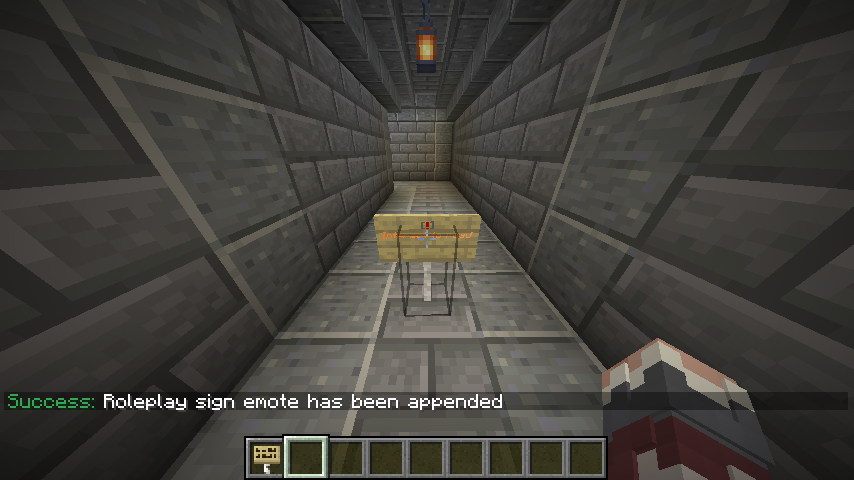
Now if you wish to extend the message if you have run out of the current chat characters’ limits you can simply run /rpsign again with a new emote or new Kyori mini message based format. Sample command /rpsign <color:#ffcd42>and light seemed the lighting the hallway
Note
You dont need to add a space infront or start of the new emote, upon append it will auto add the space infront.
If that is done once again you can excute the same action to interact with the sign sample right click on the sign.
And there you have it a basic-level roleplay sign to describe the current roleplay environmental surroundings and what not, it is up for the player or roleplayer to create the roleplay signs they want to describe so other players or roleplayers and interact or know what is going on. Now if you want to delete the Roleplay Sign you can run /rpsign clear or destroy the sign!